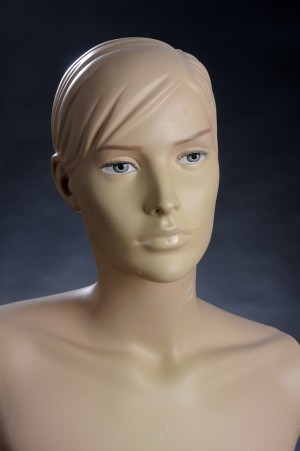
To start with, I’d like you to meet my new girlfriend. You can see her on the photos below. Isn’t she adorable? Always willing to pose, never complains, very patient. Simply put, every photographer’s dream! Came across this shop on the web the other day. Turns out they’re located only a couple of villages from where I live. Literally tens of thousands of new and second-hand mannequins in all sorts and flavours. I couldn’t believe my eyes. So one of my wishes for 2013 (see last blog entry from 2012) is already fulfilled. Now I can play with lighting setups as much as I like without bothering one of my family members anylonger.
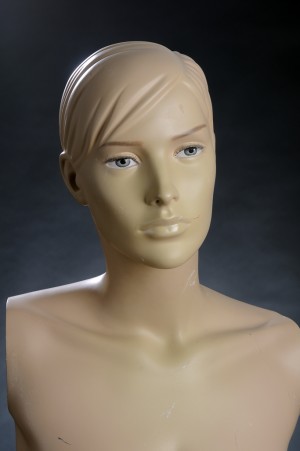
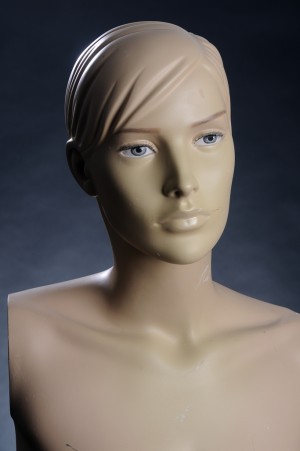
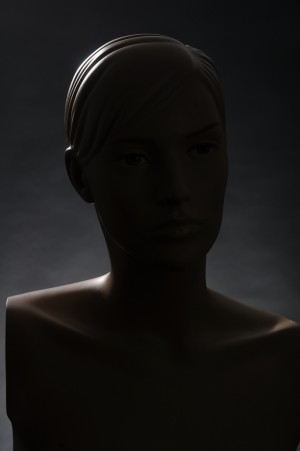
To illustrate this, here are some shots I took today. They’re all taken with the lighting setup I described on January 1. See the diagram over there if you want. The first portrait is taken with the regular 20° grid hairlight. The portrait next to it uses a 30° grid. Always wanted to test the difference, but found it too much hassle with an (impatient) live model. The shot taken with the 30° grid hairlight shows a bit more light on the model’s right shoulder. What bothering me, though, is the light entering the lens when you look at the photo’s top lefthand corner (remember my studio is only 7ft/2.10 metres high) So I’ll most certainly stick with the 20° grid from now on. The 3rd portrait illustrates the effect of the removal of the reflector (on the right of the model). Finally, the 4th portrait is without the mainlight and showing the effect of the hairlight (and backgroundlight).
I’m sure you’ll be seeing more of my new girlfriend in future entries on studio lighting setups. It also allows you to prepare your lighting setup for shoots with live models so you don’t have to bother them with testing and other preparations. You can fully concentrate on the pose, composition and what you want your portrait to articulate. I most definitely recommend such a mannequin stand-in model if you’re serious about studio lighting.


